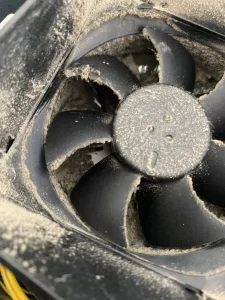
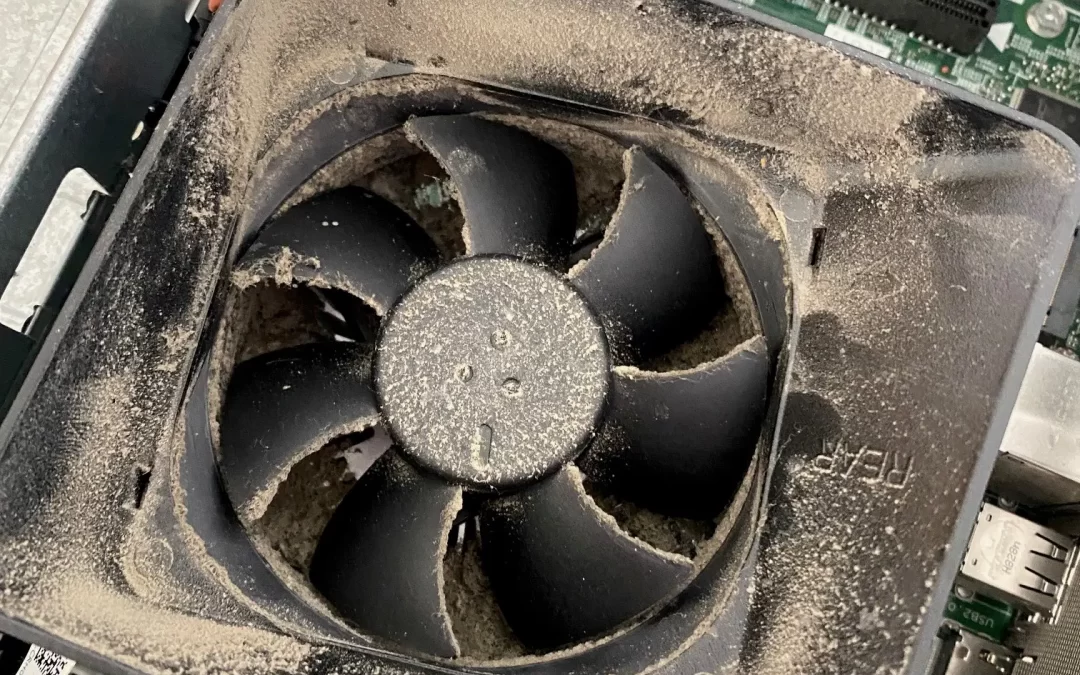
If you’ve ever wondered, “Should I clean my computer?” or thought, “My computer runs fine, so why should I bother?”—it’s time to rethink that mindset. Just like your car needs regular maintenance, your computer does too. Cleaning your computer can help maintain its performance, extend its life, and prevent overheating caused by dust buildup.
In this guide, I will walk you through how to clean your computer from the inside out to ensure a long-lasting, efficient computer
Why Should I Clean My Computer?
You might not notice it right away, but dust, dirt, and grime can accumulate in and on your computer over time. This buildup can affect your computer’s fan airflow, leading to overheating and slower performance. Cleaning not only helps with the aesthetics (no more dust bunnies on your desk lol), but it can also keep your system running smoothly.
You can get professional help from experts like Network Tactics or can do it on your own. So, let’s get started!

Step 1: Prepare Your Tools
Before you dive into cleaning your computer, you’ll need a few supplies. Here’s what you’ll need:
- A damp cloth (light dampen you are not washing a car lol)
- A can of compressed air (also known as canned air)
- Microfiber cloth (or any soft towel)
- Q-tips
Important Note: Avoid using a vacuum cleaner. While it might seem like a good option for removing dust, vacuum cleaners create static electricity that can be harmful to the sensitive electronics inside your computer. Stick to the tools listed above for a safe and effective cleaning process. If you do not have canned air you can use a compressor to blow the dust out but make sure you are filtering any moisture out of the line before cleaning.
Step 2: Clean the Outside of Your Computer
Start by powering down your computer and unplugging it from any power sources. If you’re cleaning a desktop, also disconnect any peripheral devices (keyboard, mouse, monitor, etc.) to give yourself more space to work.
- Wipe the Exterior
Using a damp cloth, gently wipe the exterior of your computer case. This includes the sides, top, and front panel of a desktop or laptop. For laptops, focus on the keyboard area and screen. Some newer desktops have a screen on the bottom that filters the dusk. Be sure to check the underside of your desktop
Pro Tip: Use a microfiber cloth for your screen to avoid scratching it. - Clean Your Keyboard and Mouse
Use a slightly dampened cloth to wipe your keyboard and mouse. For deep cleaning, you can use compressed air to blow out debris from between the keys of your keyboard. Turn your keyboard upside down and shake. If you hear small objects shaking around, it’s probably those used staples you quickly removed from that stack of papers.
Step 3: Clean the Inside of Your Computer
Now that the exterior is clean, it’s time to tackle the interior. This is where dust can accumulate, affecting your system’s airflow and cooling.
- Open the Case (for desktops)
If you have a desktop, open the case by removing the side panel. If you’re unsure how to do this, refer to your computer’s manual or a YouTube video. Generally, Dell desktops do not require any tools to remove the cover while custom-built computers generally have several Phillips screws. - Use Compressed Air
Hold the can of compressed air upright and use short bursts to blow out dust from the interior components (sometimes you have to turn it upside down to get the correct angle). Focus on the fans, power supply, and motherboard. Be sure to blow air in between the fan blades, the heatsinks, and other components.
Pro Tip: Hold the fans in place with your fingers so they don’t spin while you clean. This helps prevent potential damage and remember to turn off and unplug your machine before attempting. - Clean the Fans and Vents
Use a cotton swab or a soft brush to remove any remaining dust from the fan blades and vents. These areas are critical for airflow and clearing them out can help prevent overheating. Your processor fan is the most important fan to clean. It cools your processor which is imperative to having an efficient running computer - Check the Power Supply
Don’t forget to give the power supply unit (PSU) a quick blast of compressed air as well. Dust buildup here can affect your system’s stability. The power supply normally has a few fans built in. If your fan gets too clogged up and no longer functions then you risk the chance of processor/motherboard damage. - Reassemble and Test
Once you’ve finished cleaning the inside, put the side panel of your desktop back on (or close your laptop) and reconnect all the cables. Power up your computer and make sure everything is running smoothly.
Step 4: Maintain a Regular Cleaning Schedule
It’s a good idea to clean your computer at least every few months (use Outlook to add this schedule to your calendar), depending on your environment. If you live in a particularly dusty area or have pets, you may need to clean more often.
Conclusion: Keep Your Computer Clean, Keep It Running Smoothly
Cleaning your computer from the inside out doesn’t have to be a daunting task with networktactics.com expert help. By following these simple steps, you’ll ensure that your computer runs efficiently, stays cool, and lasts longer. Just remember: no vacuum cleaners—only canned air and damp cloths for the win! If you have any questions, feel free to contact us and checkout some of the images in this post. Happy Cleaning!

